How to Teach Your Child to Write Their Name Without the Tears
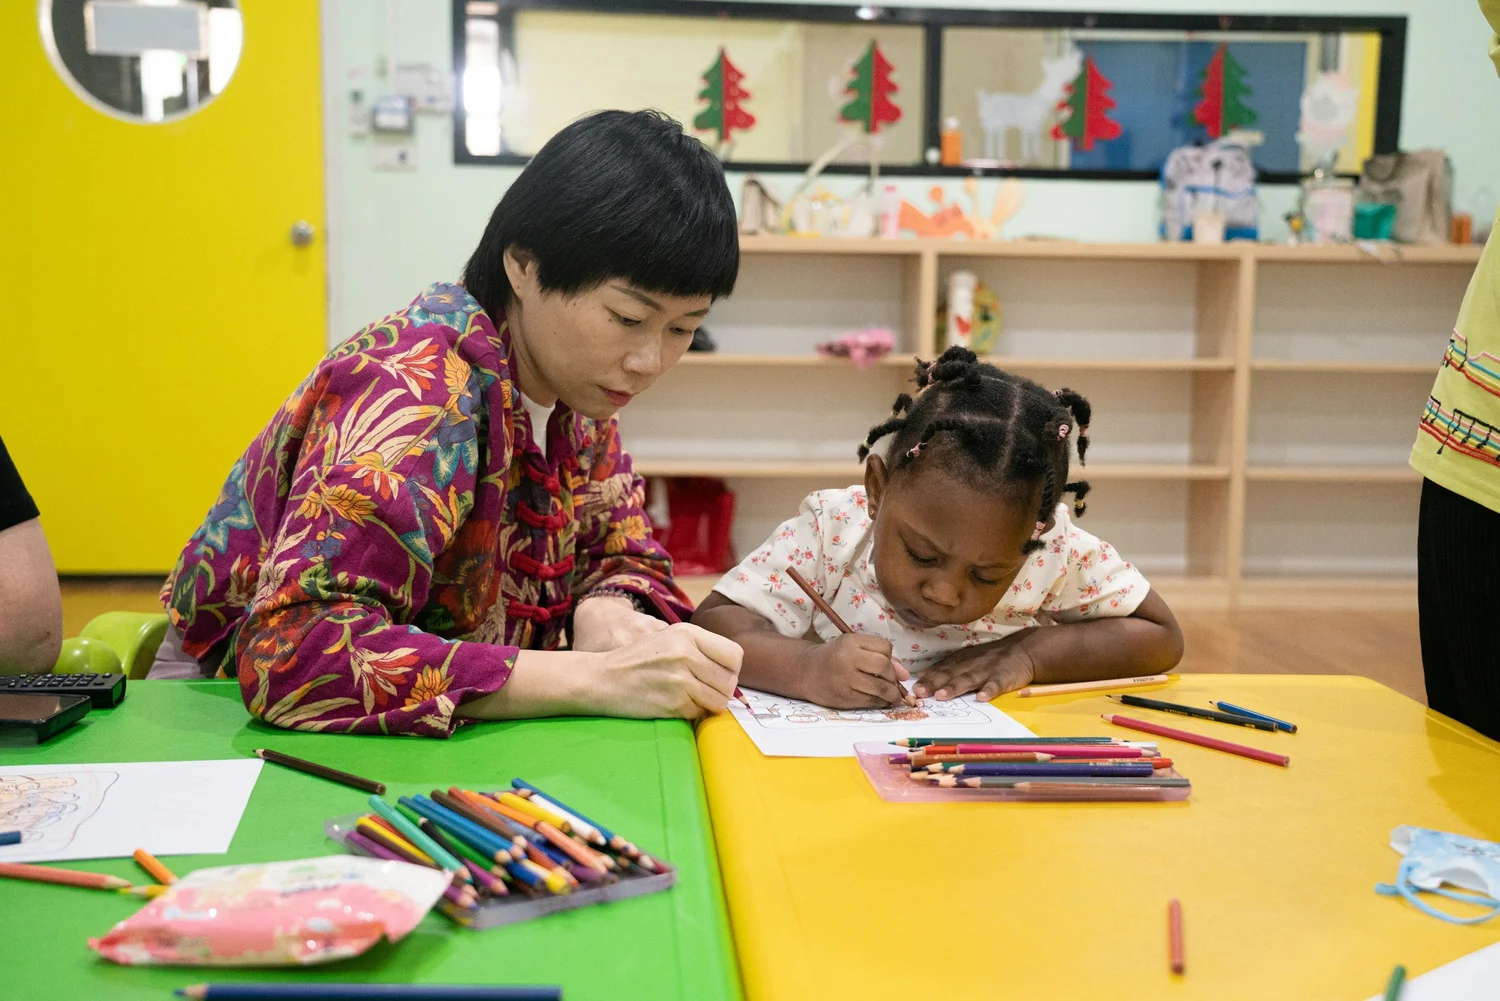
You handed over a crayon, said "write your name!" in your brightest voice… and got a scribble, a meltdown, or a very confident backwards letter. If you're trying to figure out how to teach your child to write their name and it keeps ending in frustration (theirs or yours), you're in exactly the right place.
So take a breath, because here's the truth I tell every parent: a name isn't the first writing skill — it's one of the later ones. When it feels hard, it's almost never because your kiddo "can't." It's usually because a couple of building blocks underneath aren't quite ready yet. Once you know the order, the tears mostly disappear. Let me walk you through it the way I do in sessions.
The Real Name-Writing Timeline I Use in Sessions
Names have a lot of moving parts — recognizing the letters, remembering their order, and getting a hand to form them. Kids grow into it in a pretty reliable order, so here's the ladder I actually watch for. Find your kiddo, then aim for the next rung, not the top.
Before it's about letters at all
Scribbling, big arm swoops, dots and lines. This is the foundation — the prewriting strokes that letters are literally built from. If your kiddo is here, letters can wait; play with lines and circles first. My guide to pre-writing skills for preschoolers shows exactly what to build.
Around 2–3Recognizing & "reading" their name
Long before they can write it, kids learn to spot their name — on a cubby, a cup, a drawing. This is huge and it counts. Point it out everywhere. They're learning that those specific squiggles mean them — my post on teaching name recognition is full of ways to build this exact step.
Around 3Tracing & copying the first letter
Now we trace over a model and start with just the first letter — the capital. One letter they can nail beats a whole name they can't. That first initial builds all the confidence for the rest, and it pairs nicely with broader letter recognition work happening at the same time.
Around 3½–4½Copying the whole name from a model
With their name written above (capital first letter, lowercase for the rest — not all capitals), they copy it letter by letter. Letters get recognizable, even if they're jumbo-sized and wandering off the line. That's completely normal here.
Around 4–5Writing it from memory
The name comes out without a model, mostly correct, and they start caring about size and sitting it on a line. Reversals (a backwards N or J) are still totally typical well into this stage — don't panic over a flipped letter.
Around 5–6See how much has to happen before a pencil ever moves? If your three-year-old isn't writing their name, they're not behind — they're right on time.
My Signature Trick: The Fade-Away Name
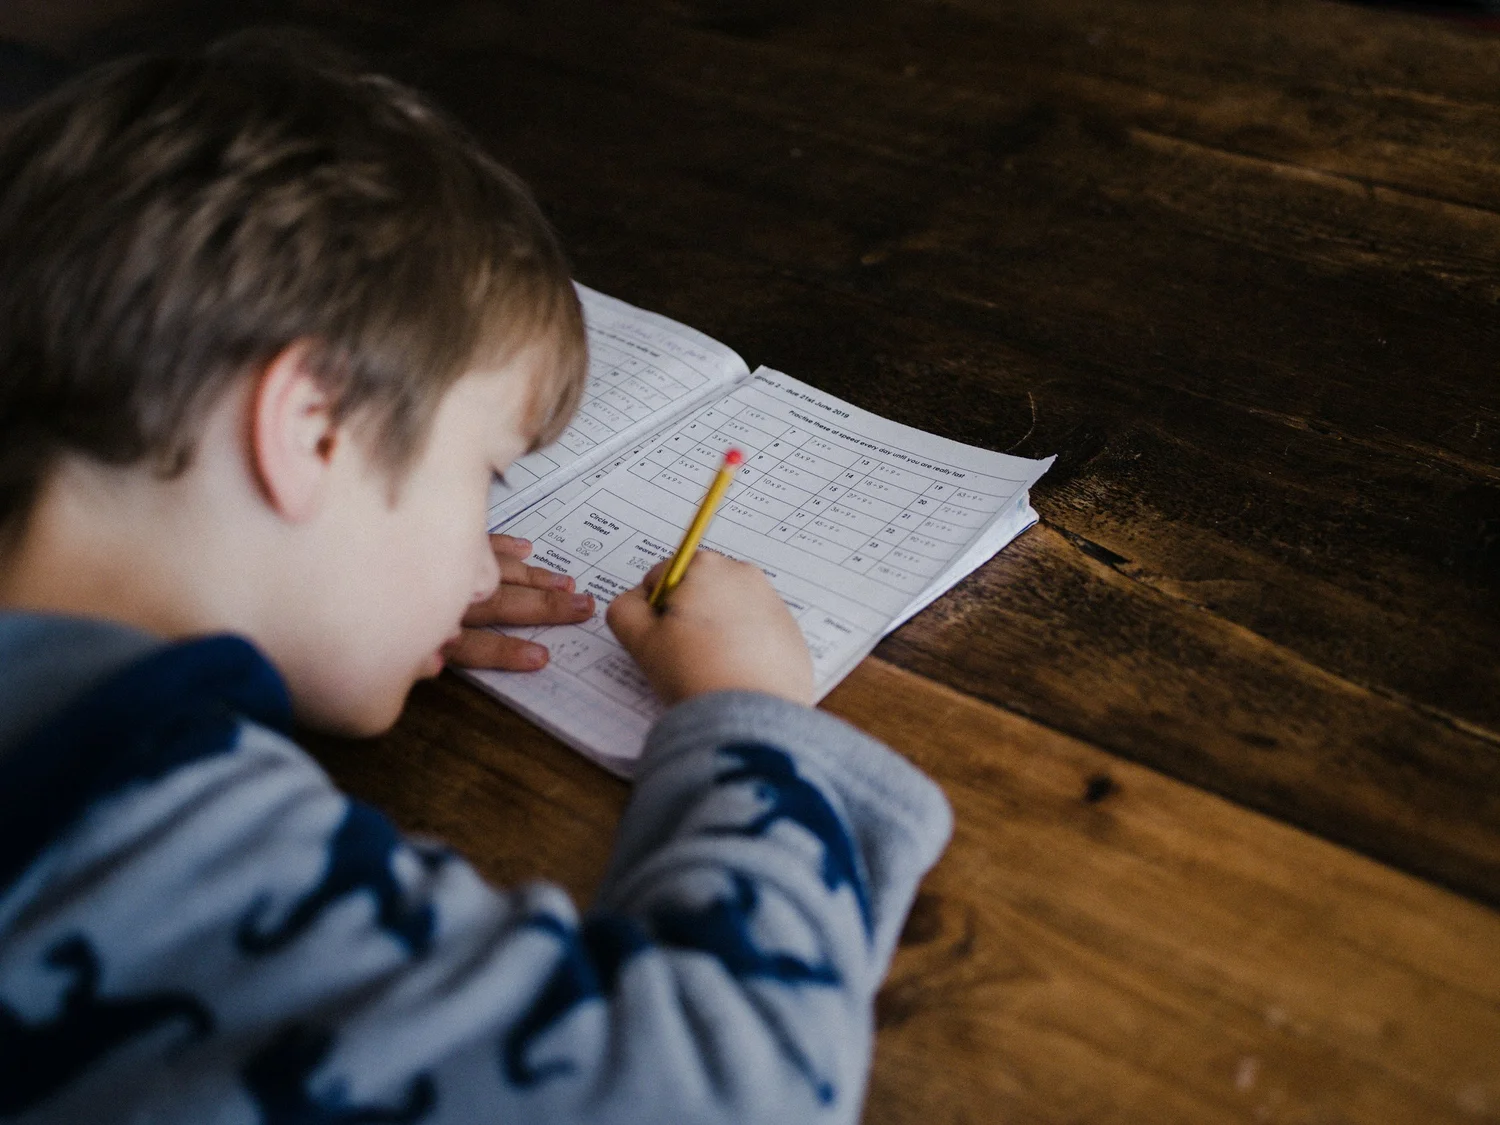
If I could hand you one move for teaching a name, it's this — I call it the Fade-Away Name, and it's just gentle, planned help that you pull back a little at a time so your kiddo never hits a wall.
Start by writing their name in yellow highlighter and let them trace right over your lines with a pencil or marker. Highlighter is genius here: it's bright enough to follow but invisible-ish once traced, so the finished name looks like they did it. (They did!) Do that for a few days until it feels easy.
Then fade the support, one step at a time: go from the full highlighted name → to dotted letters they connect → to just a dot marking where each letter starts → to a blank line with the name written at the top to copy → to no model at all. If a step gets wobbly, drop back one rung and stay there a while. No pressure, no marathon — just five happy minutes a day. Fading is the quiet secret behind almost every "how did they learn that so fast?" moment.
One more rule that saves so many tears: teach one letter at a time, in name order, and always capital-first-then-lowercase. A name learned as five separate wins feels doable. A whole name at once feels like a mountain.
Make It Multisensory: Name Play With Stuff You Already Have
Here's the fun part. The more ways a kiddo feels a letter, the faster their hand remembers how to make it — no worksheet required. Rotate through these and their name sneaks in without it ever feeling like practice.
Write it in "gunk"
A squirt of shaving cream on the table, a tray of salt or sugar, a foggy window, bath crayons in the tub. Tracing letters in a squishy, satisfying texture builds the motor memory faster than pencil-on-paper — and it wipes right off.
Motor memoryRainbow trace
Write their name once, then have them trace over it in a different color each time — red, then blue, then green. Every pass is more reps for the hand, and stacking the colors turns "practice" into a mini art project.
Repetition · funBuild it before you write it
Form the letters out of playdough snakes, wiki sticks, dry noodles, or magnetic letters first. Building a letter with two hands helps the shape stick — then pick up the pencil and it's far less abstract.
Hands-onSticker-dot the path
Pop small stickers along the lines of each letter and let them "drive" a finger or crayon from dot to dot. It teaches the direction a letter is formed — the part that actually prevents backwards letters down the road.
Letter directionErase & repeat on a screen-free "tablet"
Kids love the swipe-to-erase magic of an LCD writing tablet, so they'll happily write their name ten times in a row — which is exactly the repetition a hand needs, minus the paper pile and the "I'm done" whining.
Repetition · no messAnd when they're ready to bring it to paper, having a model to copy from makes all the difference. My post on why writing feels so slow and effortful for some kids pairs perfectly with these if your kiddo tends to shut down the second real writing shows up.
Want the print-and-play version?
My editable name-tracing pages live in the membership — pop in your kiddo's name and print highlighted, dotted, and blank-line versions to fade through, exactly like the trick above. Laminate them and reuse forever. Ready in about two minutes.
Get the Name-Tracing PagesHeads up: this post has Amazon affiliate links. If you grab something through them, Tiny Hands earns a small commission at no extra cost to you — it's what keeps the free worksheets free. Thank you!
The tools I reach for to make name practice click
For happy, mess-free repetition, an LCD writing tablet lets them write their name and swipe it away again and again. Two tracing boards make the letters feel right — a squishy letter tracing pad and a double-sided magnetic tracing board guide little fingers along each letter's path. And on paper, my Bright Lines highlighted notebook marks where every letter starts and sits, so that name lands right on the line.
When to Check In With an OT
Learning a name is play, not a test — and a kiddo who'd rather draw a dinosaur than write their name is just being a totally normal kid. But a quick, no-pressure chat with a pediatric OT can be reassuring if, well past age 5 or 6 and with lots of gentle exposure, you're still seeing things like letters that come out wildly different every single time, a hand that tires or melts down after just a minute of writing, most letters and numbers reversing past around age 7, or a pencil grip that stays fisted and very tight.
None of these is an emergency — they're just gentle "let's take a closer look" flags. And watching a kiddo write their own name for the first time, all by themselves? That's one of my very favorite parts of this job. You've got this.
New here? Grab the free pack first 🎁
Join the list and I'll send you the Fine Motor Starter Pack — 40+ print-ready pages to build those little hands at home, from first strokes to first letters.
Send My Free PackWant the whole library, sorted and ready? Peek at the membership →
This post is for learning and support — it isn't a diagnosis. © Tiny Hands